Basement Waterproofing: Step-by-Step Guide to Stop Leaks
Nov 4, 2024
Basements are naturally prone to moisture buildup because they are below ground level, which makes them more susceptible to water seepage. This excess moisture can compromise the foundation’s structural integrity over time and lead to costly repairs. Additionally, damp environments encourage mould and fungal growth, posing serious health risks. The best defence against these issues is proper basement waterproofing, which ensures your space remains dry, durable, and safe.
A waterproofed basement is vital for effective home maintenance and a sound investment in the long run. By following the right waterproofing methods, you can safeguard your living space and belongings from potential damage. Here’s an easy-to-follow guide to help you with basement sealing and waterproofing.
Step 1: Initial Assessment
Start by examining your basement for signs of moisture or water intrusion. Look for damp spots, water stains, musty odours, or visible leaks. Inspect during or after rainfall to pinpoint problem areas. Also, assess the exterior of your home, especially near the foundation, for standing water or drainage issues.
Step 2: Surface Preparation
Clear the basement of debris and ensure the work area is completely dry. Remove any standing water and scrape off old paint or coatings using a wire brush or sandpaper to expose bare surfaces. After cleaning, inspect again to identify cracks or potential leak points that may need repair.
Step 3: Repairing Cracks
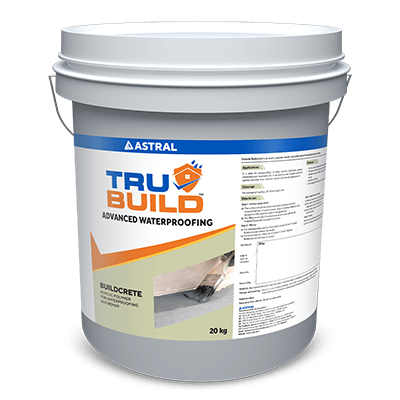
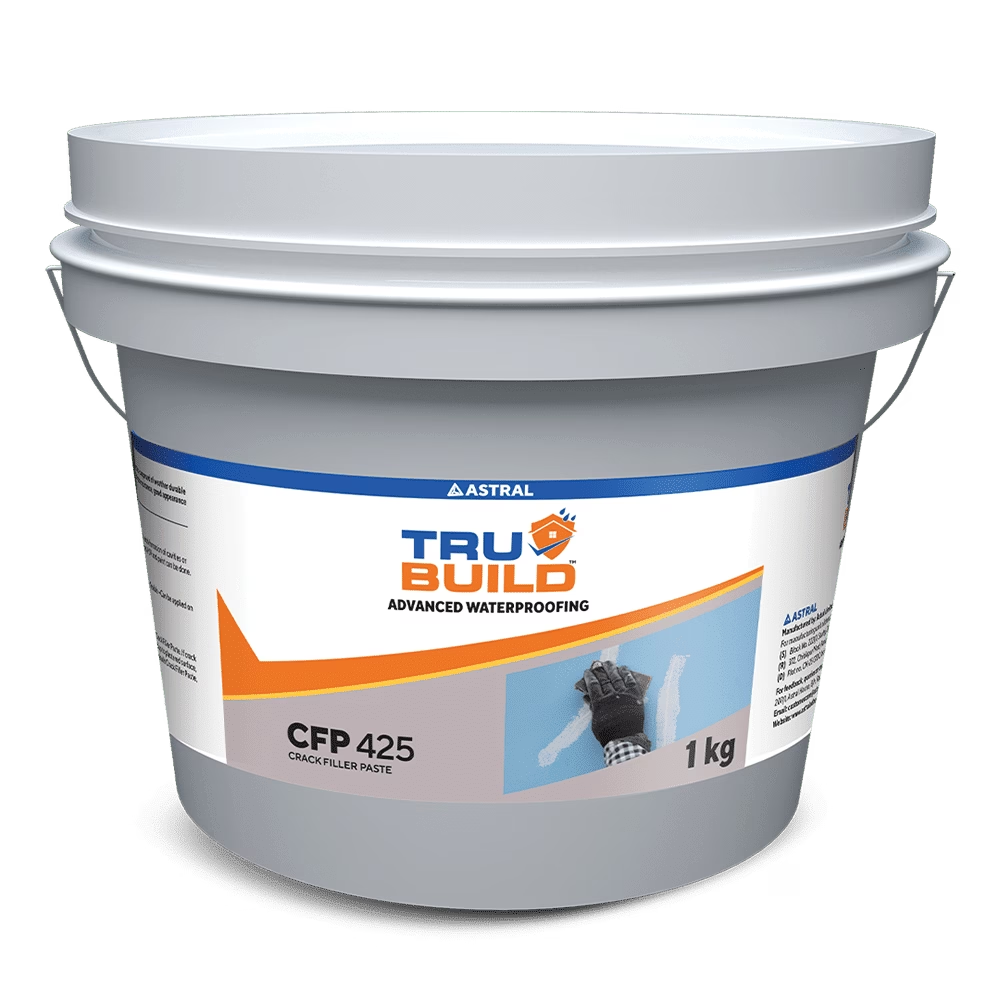
Cracks in the foundation are the most common entry points for water. Repairing these cracks is important to your waterproofing success. When waterproofing a basement, use a reliable solution like Astral Trubuild CFP 425, a ready-to-use acrylic emulsion polymer known for its excellent bonding and water-resistant properties, to seal and strengthen the cracks effectively.
Step 4: Interior Waterproofing for Basement
Interior basement waterproofing provides the first layer of defence against leaks. Apply waterproof masonry cement in two coats to create a strong, moisture-resistant barrier. Consider adding vapour barriers to walls to block moisture and install internal drainage systems, such as perforated pipes and sump pumps, to redirect water efficiently.
Step 5: Exterior Waterproofing for Basement
Exterior waterproofing stops water from reaching your basement walls. This involves excavating around the basement walls for a thorough inspection and repair. Seal any gaps with a liquid membrane to create a seamless protective layer. A drainage board and weeping tile system with gravel further ensure effective water management. This comprehensive approach significantly reduces the risk of leaks.
Step 6: Reliable Drainage System
Proper drainage systems are integral to waterproofing success. Use external solutions like perforated pipes around your foundation and maintain proper grading to direct water away from your home. Internally, French drains and sump pumps work together to handle any seepage. Regular maintenance of these systems is essential, especially in regions with heavy rainfall or poor soil drainage.
Choosing the Right Waterproofing Solutions
Selecting durable and easy-to-apply waterproofing products is essential. When doing basement sealing and waterproofing, look for solutions that ensure superior performance while enhancing the appearance and resilience of your walls.
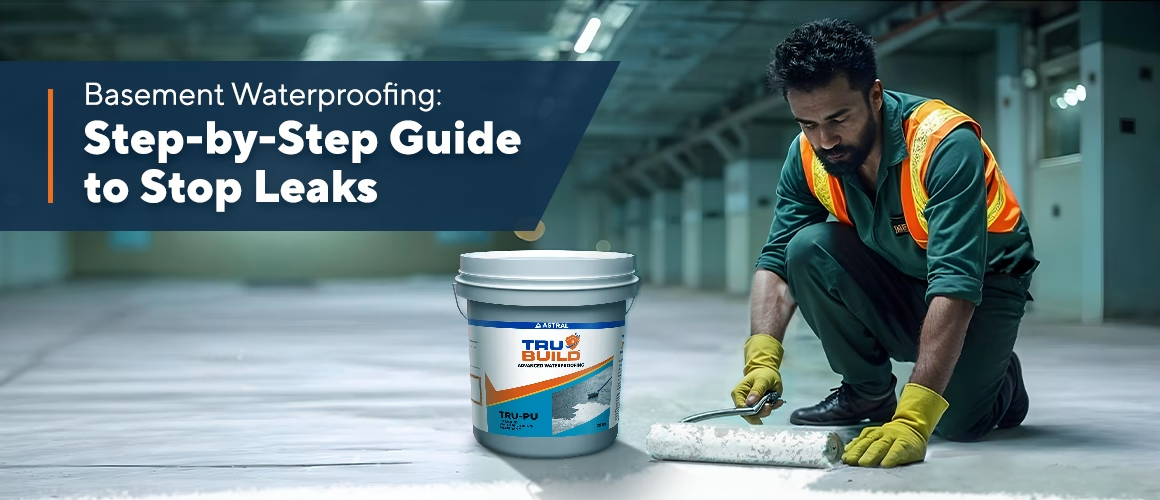
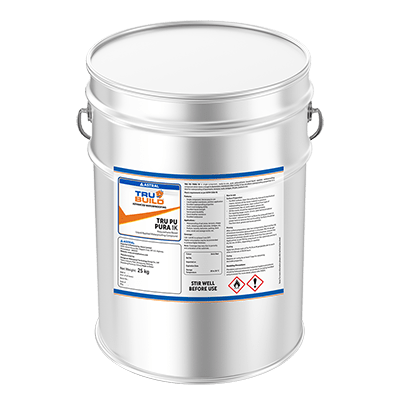
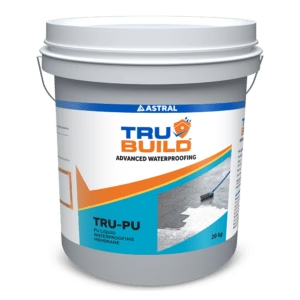
One reliable option is Astral Trubuild TRU PU, a polyurethane-based liquid membrane offering high elasticity and excellent adhesion to various surfaces. This versatile product effectively bridges cracks up to 2 mm, making it ideal for basements, terraces, retaining walls, and more.
By following these steps and choosing the right products, you can protect your basement from water intrusion and prolong its lifespan. Combining effective methods, professional support when needed, and durable waterproofing solutions ensures a safe, dry, and valuable space for years to come.


 Professional Sealants
 Roof Waterproofing


 Substructure Waterproofing
 Tiling and Grouting
 Water Tanks and Other Areas