
 Concrete and Mortar
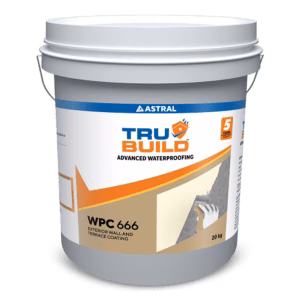
 Exterior Coatings
 Professional Sealants
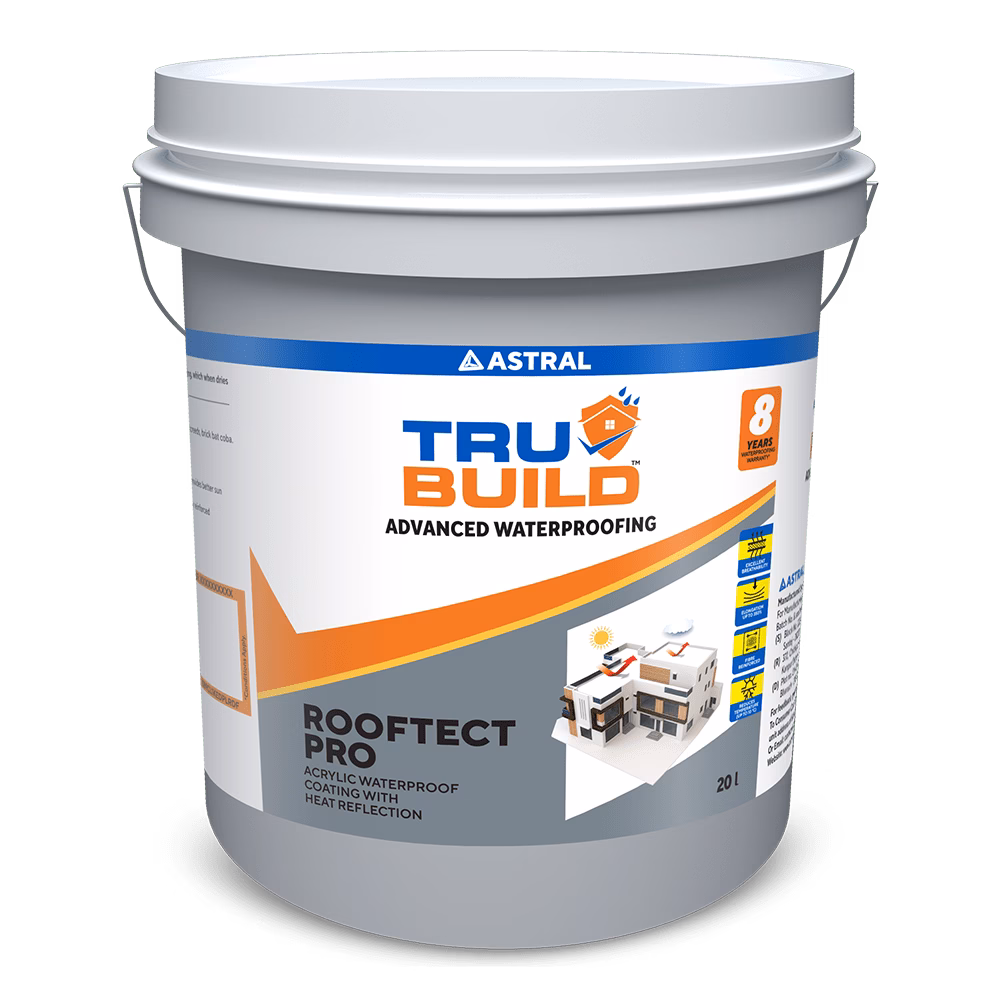
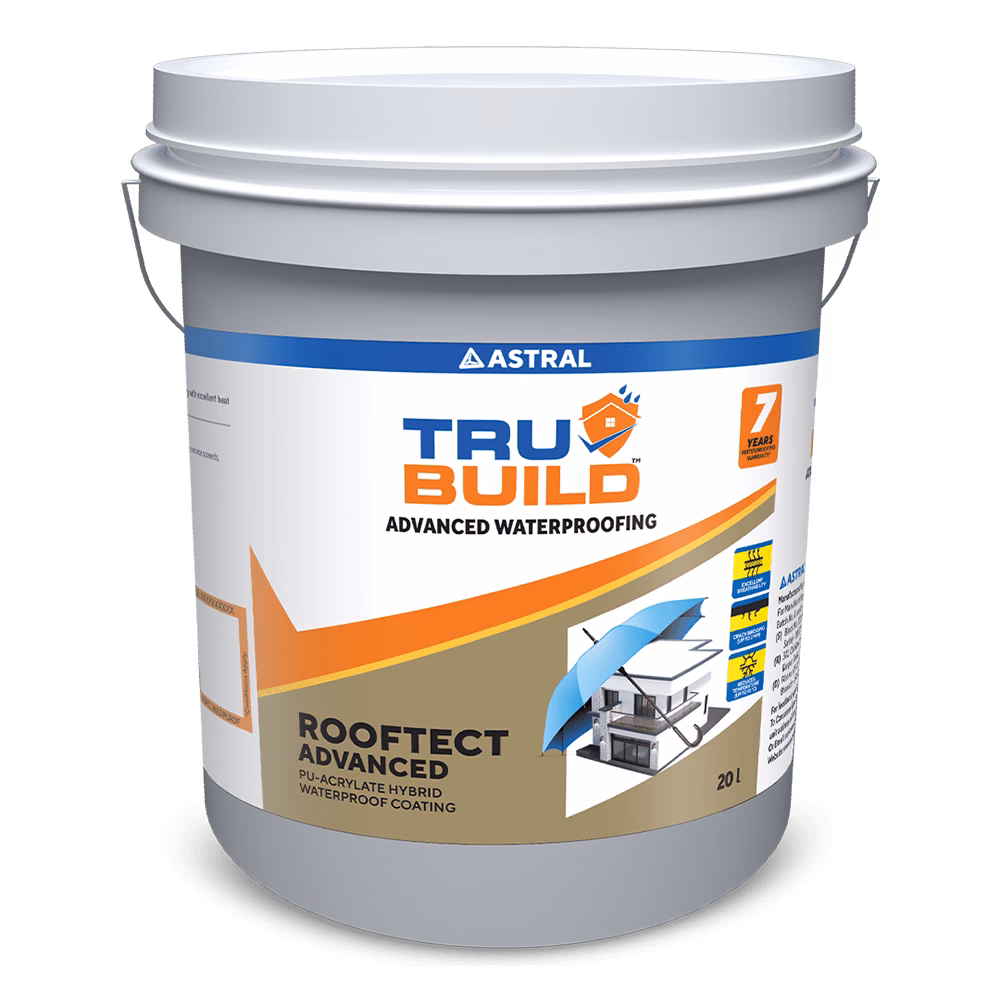
 Roof Waterproofing


 Substructure Waterproofing
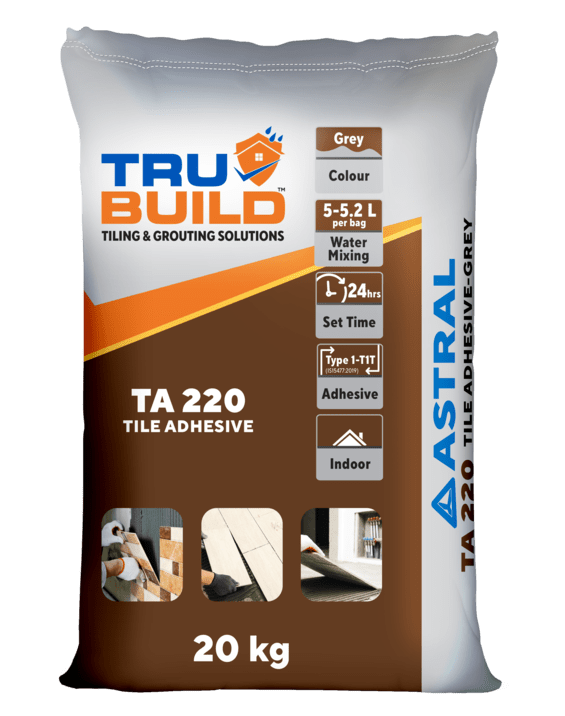
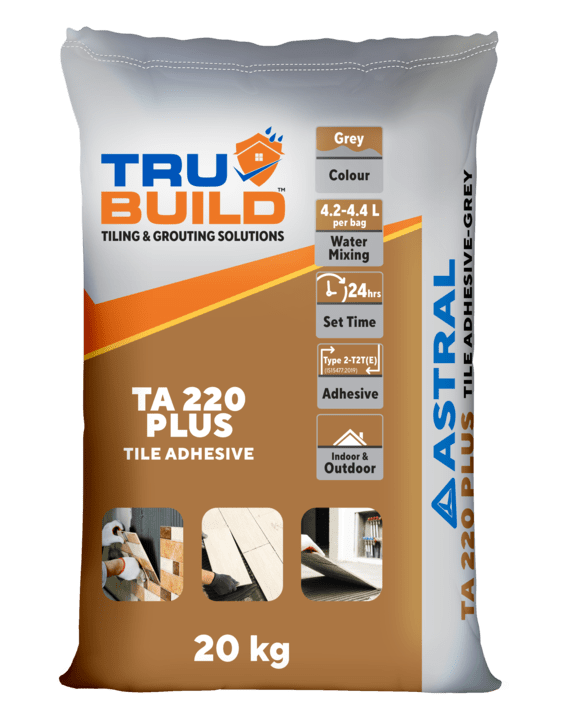
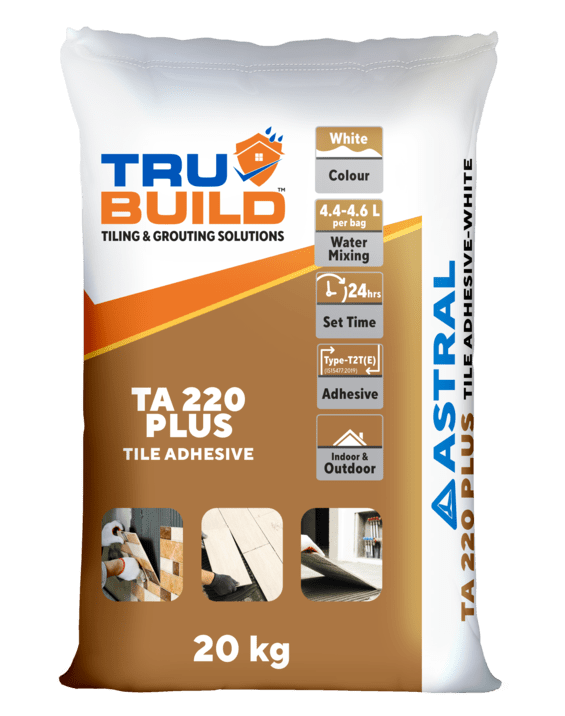
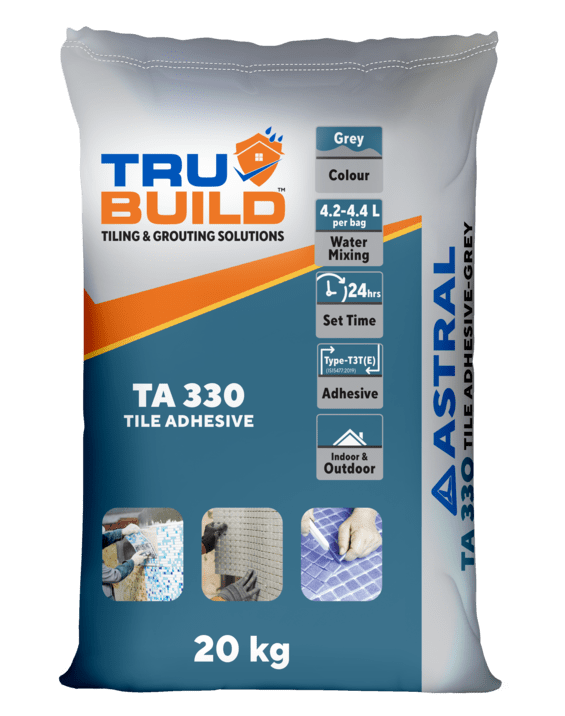
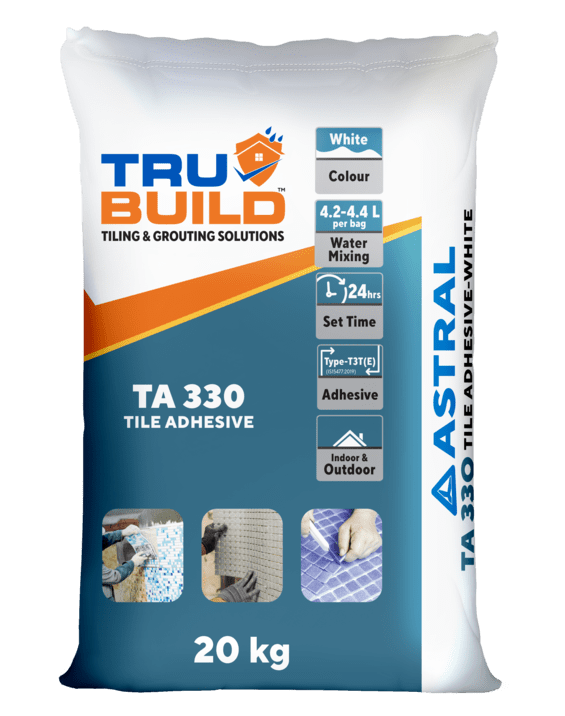
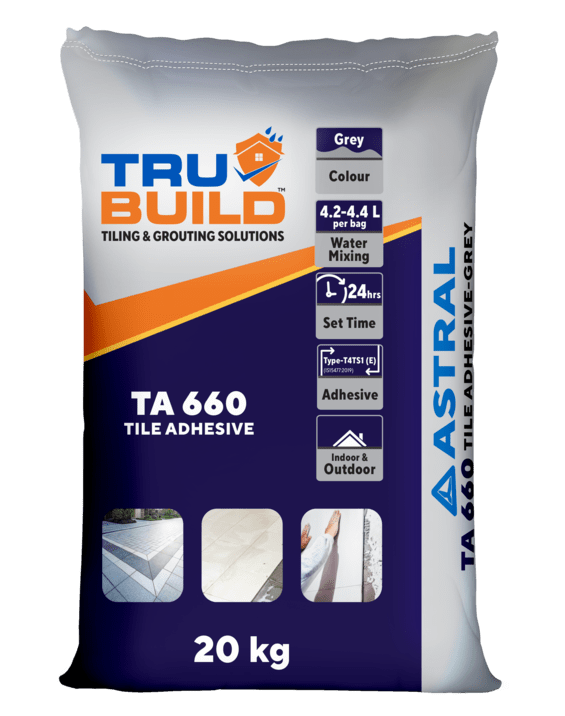
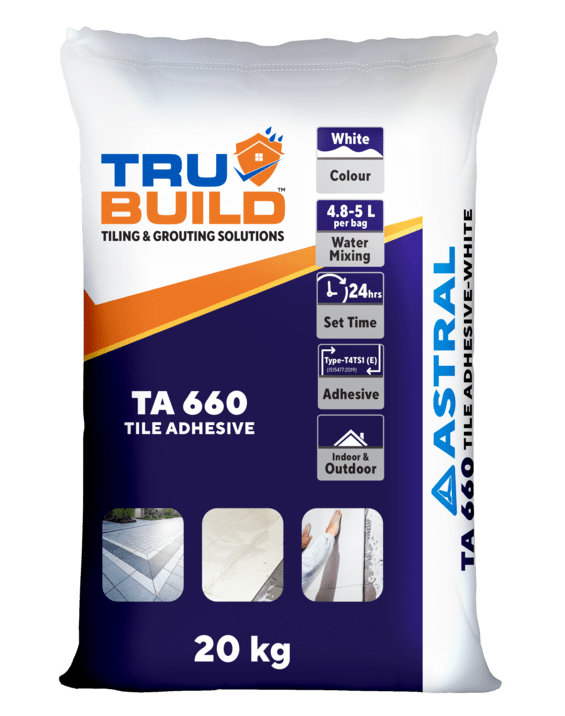
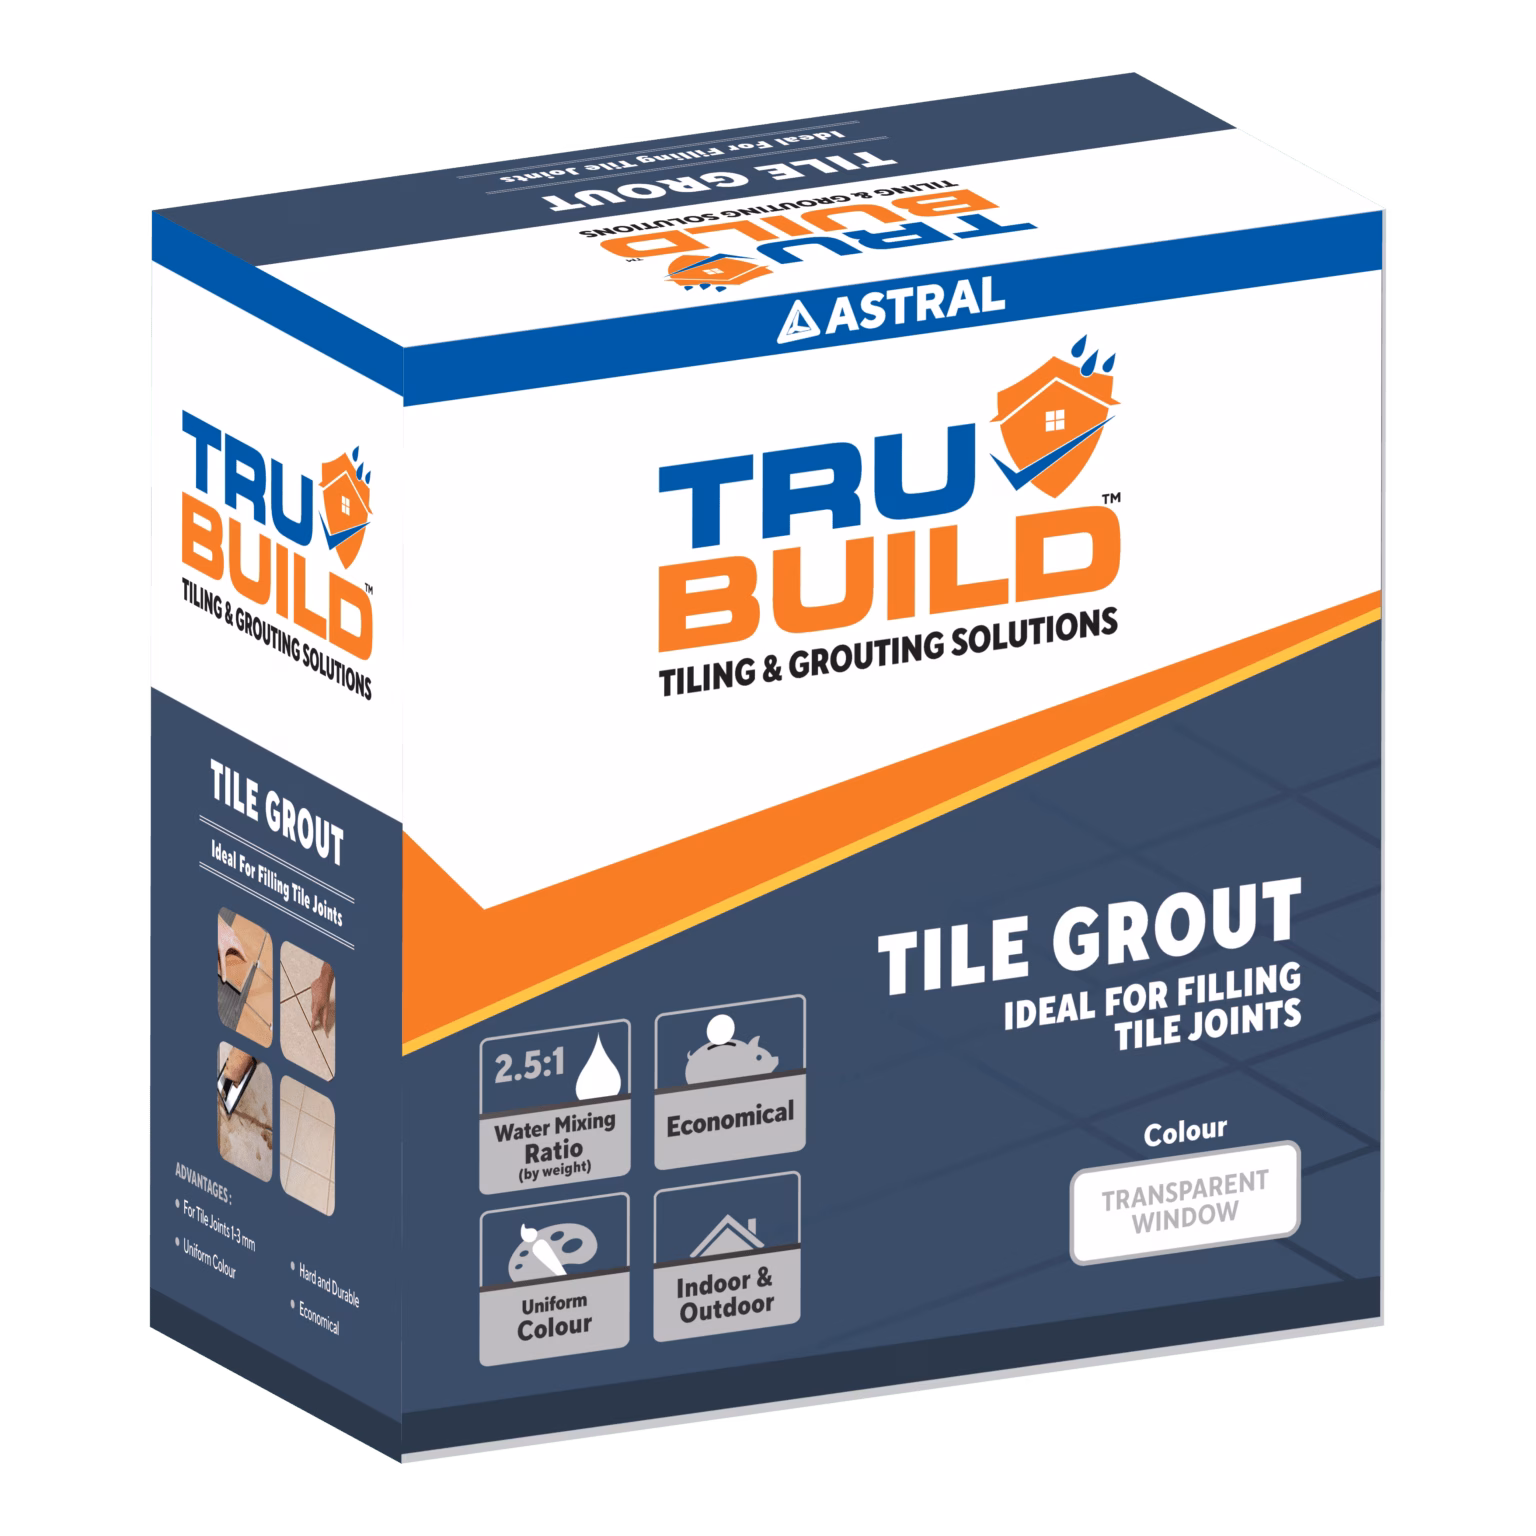
 Tiling and Grouting

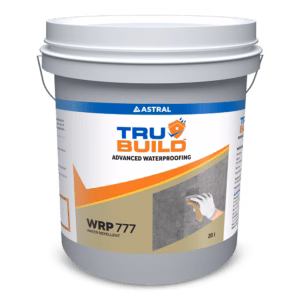
 Water Tanks and Other Areas
 Wet Areas

7 Steps to Preparing Your Concrete Floor for Epoxy Coating
Mar 25, 2024

Epoxy coatings make concrete floors more durable, waterproof, and stain-resistant. This improves their appearance and protects them from daily wear and spills, including oils and chemicals. However, the key to a long-lasting epoxy finish lies in proper floor preparation. If the surface is not prepped correctly, the coating may peel, crack, or fail to stick properly. Small cracks and peels can make floors look worn out, but if the epoxy does not bond well, fixing it requires extra materials, time, and money. Preparing the surface the right way from the start ensures a smooth, durable, and hassle-free finish.
Here are seven essential steps to prepare your concrete floor for epoxy coating:
Step 1. Clean thoroughly: Sweep the floor to remove dust, dirt, and debris. Follow up with a thorough vacuuming to ensure all loose particles are eliminated. For stubborn stains or grease spots, use a degreasing cleaner and scrub brush to clean the surface effectively.
Step 2. Inspect and repair cracks: Check the entire floor for cracks, chips, or spalls. Use a suitable concrete repair compound to fill in these imperfections. Ensure the repaired areas are smooth and level with the rest of the floor to achieve an even epoxy coat.
Step 3. Etch the surface: Etching makes concrete rougher by using an acid solution or a grinder, helping epoxy stick better and last longer. Use a concrete grinder or acid etching solution following manufacturer instructions. Rinse thoroughly and let the floor dry completely before proceeding.
Step 4. Test for moisture: Moisture can compromise the adhesion of epoxy coatings. Perform a moisture test using plastic sheeting or a moisture meter. If moisture is present, address it with a suitable moisture barrier or epoxy primer to block moisture transmission.
Step 5. Apply primer: Primer is important to enhance adhesion and ensure uniformity of the epoxy coat. Use an epoxy-based primer and apply it according to the manufacturer’s instructions. Allow the primer to cure completely before applying the epoxy coating.
Step 6. Mix and apply epoxy coating: Carefully mix the epoxy resin and hardener according to the manufacturer’s guidelines. Apply the epoxy coating evenly using a roller or brush, working in manageable sections. Pay attention to coverage and avoid puddling or uneven thickness.
Step 7. Allow proper curing: After applying the epoxy coating, allow sufficient curing time as per the product instructions. Ensure the area is well-ventilated during curing to facilitate proper drying and hardening of the epoxy.
Preparing your concrete floor properly before applying epoxy coating is important to achieving a durable and aesthetically pleasing finish. By following these seven steps—you can ensure the longevity and effectiveness of your epoxy floor.
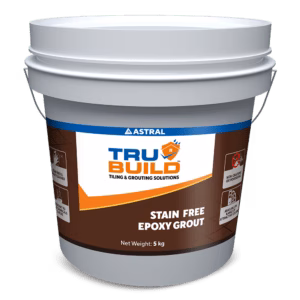
Choose the Right Epoxy Grout
For effective concrete floor waterproofing and durable protection, consider using Trubuild Stain Free Epoxy Grout. This three-component pre-packed epoxy grout is designed for various applications including bathrooms, kitchens, factories, and commercial buildings. It provides stain-free, chemical-resistant, and hard-wearing tile joints.
By following these guidelines and using quality products like Trubuild, you can achieve a seamless and durable epoxy-coated concrete floor.