How to Apply Epoxy Grout: Tips for a Durable and Flawless Finish
Apr 29, 2024
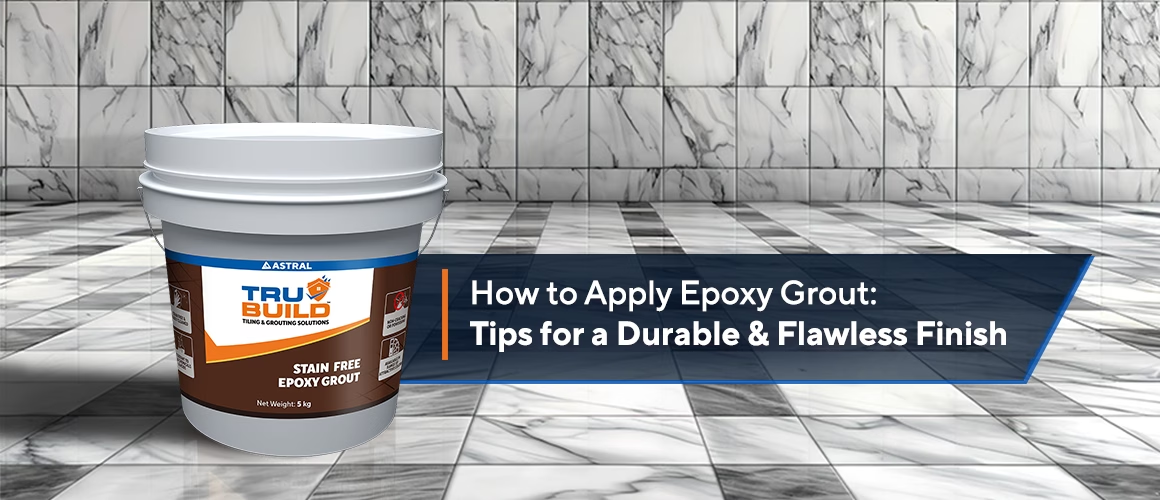
Epoxy grout is a key element for tiling projects to fill the spaces between tiles. It acts as a glue and keeps them securely fixed, preventing water from seeping in. This protects tiled surfaces from moisture damage, prevents stains, and keeps them strong and attractive for a long time. Epoxy grout is ideal for high-moisture areas such as bathrooms, kitchens, and swimming pools. However, many people shy away from grouting with epoxy grout because they think it is complicated or messy. The truth is that if you know how to apply epoxy grout properly and have the right tools, you can achieve flawless results.
Let us guide you through the process step by step, along with expert tips to ensure your project stands out for all the right reasons.
Step-by-Step Guide to Properly Grouting with Epoxy Grout
Step 1: Prepare the Surface
A clean surface is essential to begin grouting. Remove dust, dirt, and debris from the tiles using a damp cloth. Any residue left behind can compromise the bond between the grout and the tiles.
Step 2: Mix the Epoxy Grout Properly
Typically, epoxy grout consists of three components—resin, hardener, and filler powder. Combine these thoroughly according to the manufacturer’s instructions. Use a paddle mixer or a sturdy spatula to achieve a smooth, consistent paste. After mixing, epoxy grout generally remains workable for about 45 minutes to an hour, so apply it within this period. Avoid overmixing, as this can introduce air bubbles that weaken the grout.
Step 3: Apply the Epoxy Grout
Spread the epoxy grout using a rubber float diagonally across the tile joints. This ensures the grout fills the gaps completely without leaving voids. Work in small sections to prevent the grout from drying out before you finish.
Step 4: Remove Excess Grout
Once the joints are filled, use the edge of the float to scrape off excess grout from the tile surface. Be gentle to avoid pulling the grout out of the joints. Then, clean the tiles with a damp sponge, rinsing the sponge frequently to avoid smearing.
Step 5: Final Cleaning and Polishing
After the epoxy grout has set slightly (usually within 30 minutes), use a microfibre cloth to buff the tiles and remove any remaining haze. This step is vital for achieving a professional, polished look.
By following these steps and tips, you can achieve a durable, flawless finish that enhances the beauty and functionality of your tiled surfaces.
Expert Epoxy Grout Tips for a Smooth Finish
- Work in a Well-Ventilated Area: Epoxy grout emits strong fumes during application. Ensure proper ventilation to maintain a safe and comfortable workspace.
- Use Protective Gear: Wear gloves and a mask to protect your skin and respiratory system when handling epoxy grout.
- Choose the Right Colour: Select a grout colour that complements your tiles. Lighter shades enhance brightness, while darker shades better hide dirt and stains.
- Take Your Time: Rushing the process can lead to mistakes that are difficult to fix later. Focus on each step, especially cleaning, to achieve the best results.
Why Trust Trubuild Stain Free Epoxy Grout?
When it comes to epoxy grout, quality matters. Trubuild Stain Free Epoxy Grout is engineered for performance and ease of use. Its resistance to stains, chemicals, and bacterial growth makes it ideal for everyday and specialised applications. From kitchen backsplashes to hospital floors, its versatility and reliability have made it a trusted choice for demanding environments. Whether you are working on a residential bathroom or a commercial warehouse, this product ensures lasting performance and a flawless finish.
Ready to elevate your next project? Explore our range of solutions tailored to meet every need.








 Professional Sealants
 Roof Waterproofing


 Substructure Waterproofing
 Tiling and Grouting


 Water Tanks and Other Areas