How to Install Wall Tiles: Simple Steps and Process
May 22, 2024
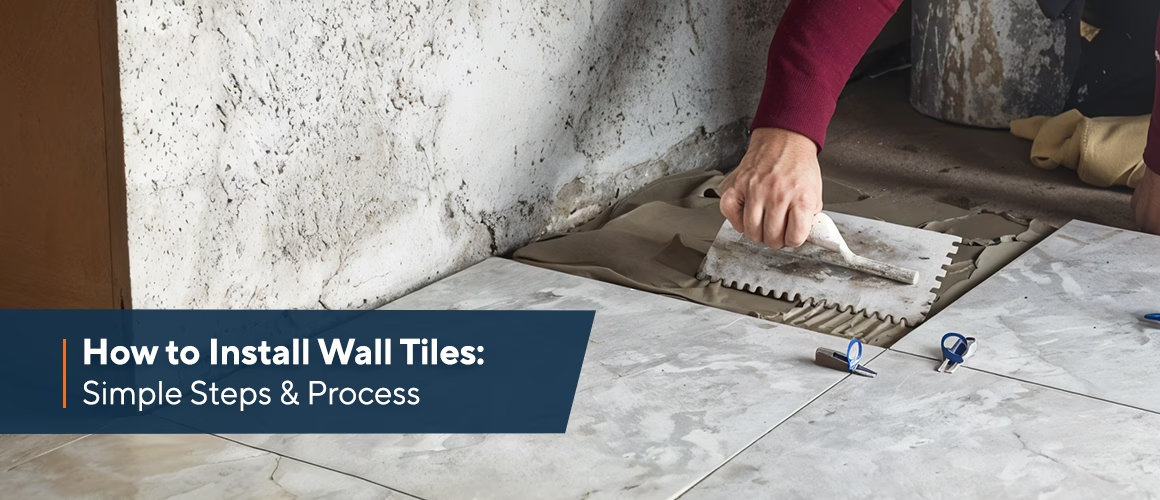
A beautifully tiled wall can transform any space, adding elegance and durability in one go. Whether you are revamping your kitchen backsplash, upgrading your bathroom walls, or adding a decorative touch to your living room, wall tiles offer style and function. Wall tiles help resist moisture and stains, and make maintenance easier. To ensure longevity and an appealing finish, for your wall tiles, follow this simple step-by-step floor tile installation process.
Step 1: Prepare the Surface
Before beginning, ensure that the wall is clean, dry, and free of any dust or grease. If the surface is uneven, apply a layer of plaster or putty to create a smooth base. A properly prepared surface is essential for the tile adhesive to bond effectively. If tiling over an existing wall, check for loose or damaged tiles and remove them before proceeding.
Step 2: Mark Your Layout
Measure the wall and mark guidelines using a level and a chalk line. This helps in ensuring that the tiles are installed as per plan. Start from the centre and work your way outward for a symmetrical layout. Dry-fit the tiles first to visualise how they will align, making any necessary adjustments before applying adhesive.
Step 3: Apply High-Performance Tile Adhesive
Use a high-quality tile adhesive to secure the tiles to the wall. Spread the tile adhesive evenly using a notched trowel, covering a small section at a time to prevent drying before placing the tiles. Adhesive wall tiles require proper bonding to avoid slipping or misalignment. Ensure the tile adhesive thickness is consistent to prevent uneven surfaces.
Step 4: Place the Tiles
Start placing the tiles along the guideline, pressing them firmly into the tile adhesive. Use tile spacers to maintain even gaps for grouting. Make adjustments while the tile adhesive is still wet to ensure precision. Check alignment periodically using a level to avoid mistakes that may be difficult to correct later.
Step 5: Cut Tiles for Edges
For edges or corners, use a tile cutter to trim tiles to the required size. Smooth out any rough edges before placing them on the wall. For more intricate cuts around fixtures or pipes, a wet saw or tile nippers can provide precise results.
Step 6: Allow the Tile Adhesive to Set
Let the tiles sit undisturbed for at least 24 hours, which allows the tile adhesive to cure properly. This step is important for the long-term durability of the installation. Avoid applying pressure or exposing the tiles to moisture during this period.
Step 7: Apply Grout and Finish
Once the tiles are firmly set, remove the spacers and apply grout using a rubber float. Wipe off excess grout with a damp sponge and let it cure. Finish by sealing the grout lines to prevent moisture absorption. Clean the tiles with a dry cloth to remove any grout haze and give them a polished look.
The Role of Right Tile Adhesive When Installing Wall Tiles
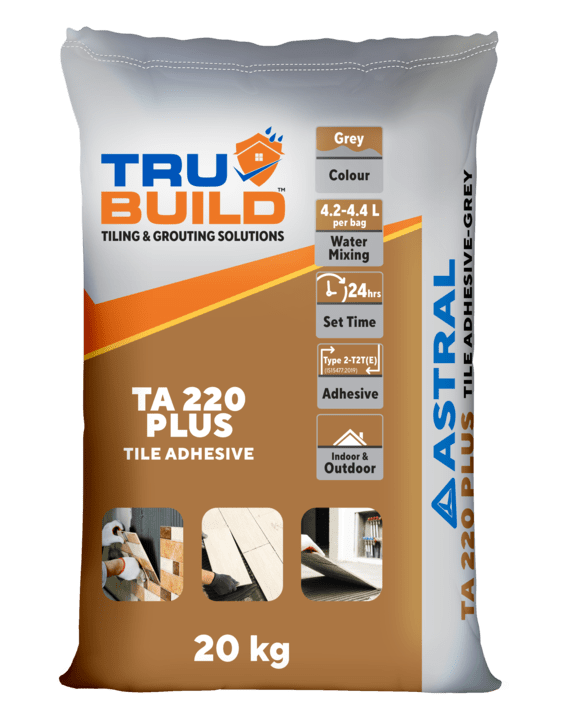
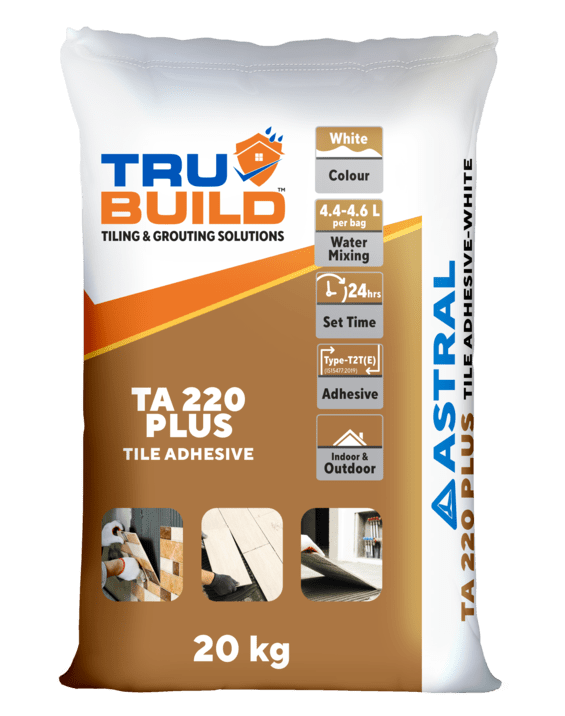
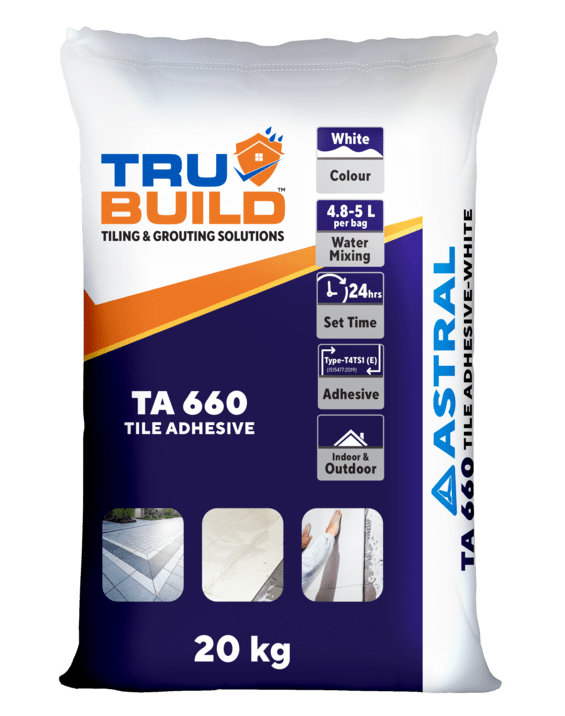
A strong and reliable tile installation depends on the quality of the tile adhesive used. For a reliable installation, you can use Trubuild Adhesive TA 220 Plus Grey. This tile adhesive wall tiles solution is a cement-based adhesive suitable for various tile types, including ceramic, vitrified, and glass mosaic tiles. It offers excellent adhesion, slip resistance, and self-curing properties. This makes your tiling project hassle-free and long-lasting. Its extended open time allows for better placement adjustments, which ensures a smooth and efficient installation.









 Professional Sealants
 Roof Waterproofing


 Substructure Waterproofing
 Tiling and Grouting


 Water Tanks and Other Areas


